
1. Choose your color scheme for the garland. I went with red, white, and black although I was looking for gray. Justin, it seems, would have been just as happy with the traditional red and green, but I wanted something a little different. You'll need different sized and colored puff balls, needle and thread, and scissors. That's it!
 2. While watching holiday movie (this is just a suggestion ;) ), play around with the sequence of the puff balls until you've decided on a pattern you like. I think I prefer the one on the top, but was afraid I wouldn't have enough of the red and white balls...turns out, they shorted me some black balls.
 3. Cut a piece of thread as long as you think you can handle it. I ended up cutting about four 3/4 yard-long pieces once all was said and done, although I cut each piece as need be. Tie a knot at the end of your thread. String the balls on in your pre-selected order trying to get the thread as close to the middle of the puff ball as you can. (You can feel that it's a little harder to pierce the exact center of the puff ball since it's much more dense in that area. Try to get the needle through there if you can; you don't want your balls falling off!) Don't force the balls on top of each other. They'll squish together if you push too hard, and you don't want crowded or scrunched balls.
 4. Once you've gotten to where you have about three or four inches of thread remaining, tie a knot as close to the end of your last puff ball as you can without pushing the balls back on top of each other. Cut your next piece of thread and tie it on as best as you can. I ended up sewing my new thread through the knot on the end of the first string and then tying a new knot on top of the old one to make sure they're connected.
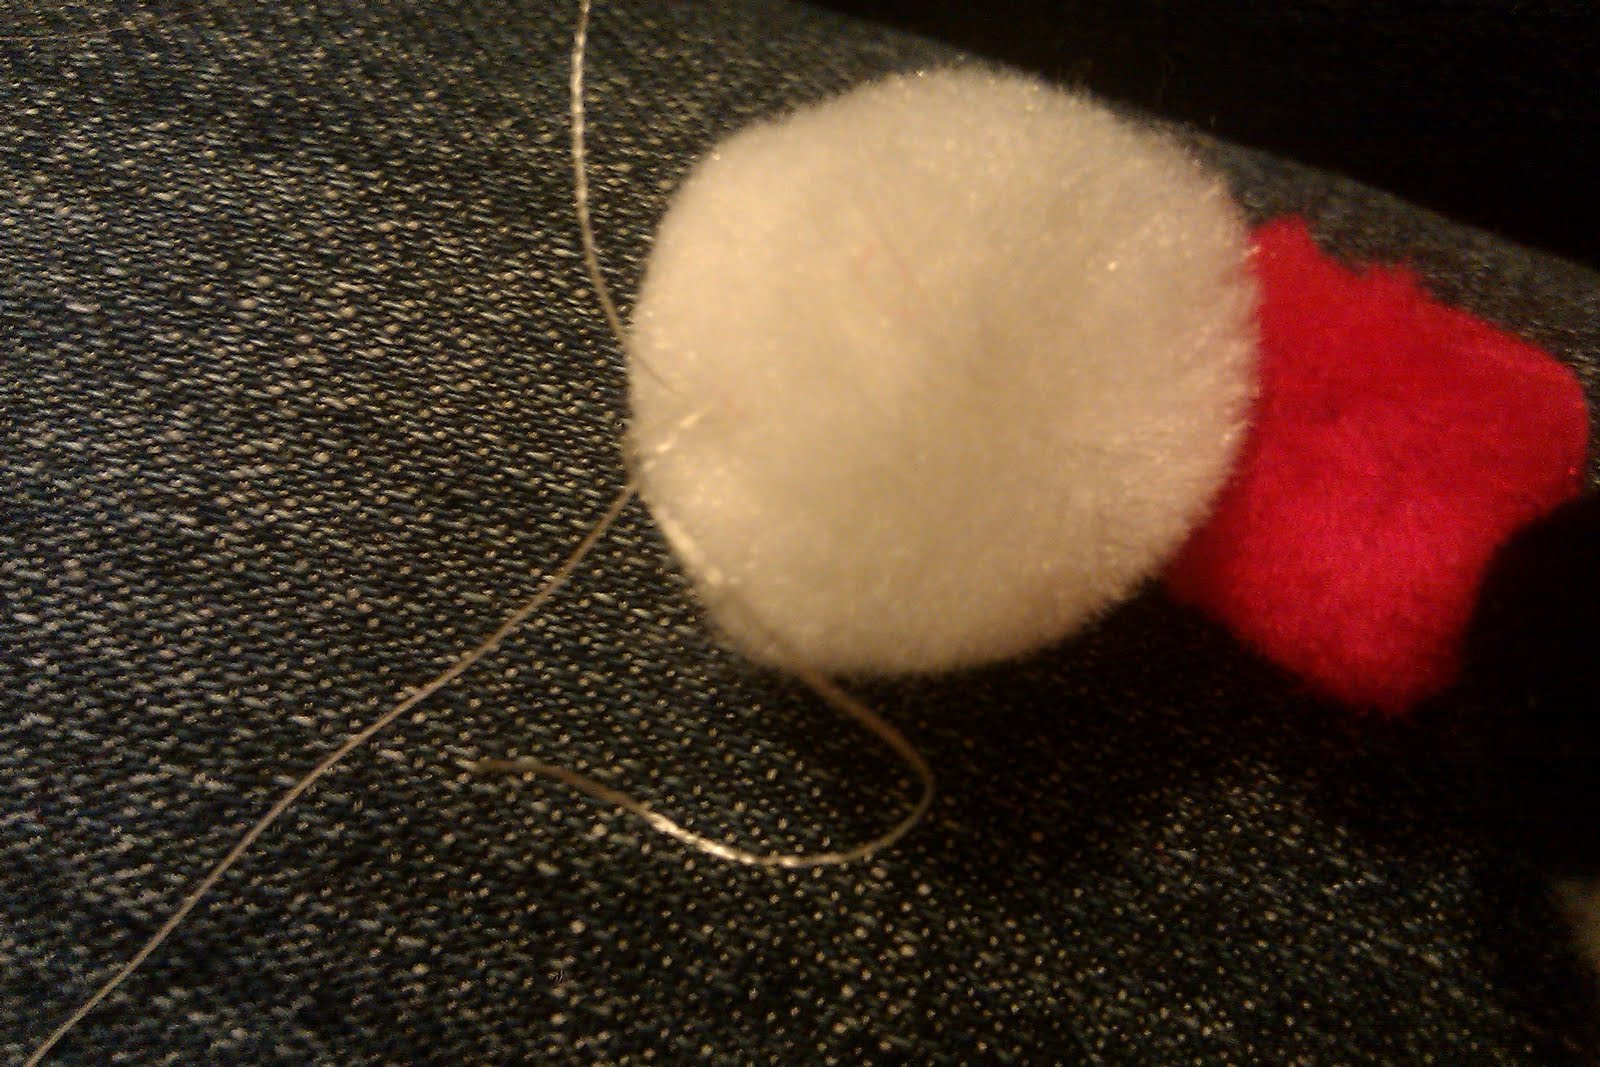 5. Continue on your merry way until all your balls have been used. Tie off the last string as in step four. Trim the loose ends and WHA-la!
 I have to say, I was really pleasantly surprised with how easy it was to make this and how nice my ball garland looks dangling on my rod. Justin said "it could even work year round," so there's always that ;)
This post inspired by AC/DC's "Big Balls."
No comments:
Post a Comment