
Monday, December 20, 2010
Project: Get Blogger to Go WYSIWYG
Crate & Barrel DIY Inspiration Bonanza

Thursday, December 16, 2010
Project: Work Holiday Party Outfit
If you're unfamiliar with this blog and her very interactive Facebook page, shame on you! I'm just kidding. You're just really missing out on a great resource for work-life and personal-life outfit inspiration. It's hard to get motivated to look nice at 7am every morning, and J gives you a head start to getting it right! Well...at least I HOPE I'm getting it right. ;)
Anyway, so after getting some advice from J, I came up with this inspired outfit. I figured the skirt was great for our San Diego weather (haha on me. It's raining today); the sweater (which I DIY'd last year from this Glamourai post) was a holiday grass green that the picture doesn't show; and my borrowed hat will make party time oh so jolly. (Can you feel my holiday spirit?) The skirt has a silk stripe down the middle, the outfit is comfy for the long day, and the shoes are accessorized just enough to make me happy. Care to share any holiday outfit mishaps or magical moments?
 Picture courtesy of me. Please excuse the blurriness...it's from my Skype camera, which is the only thing that would work at work. Also, don't you just love how I'm posing with my bike? ;) The only other option would be to throw it in the hallway and just ask my coworkers to watch it while I take some photos for my blog. Oh, I'd love to see how THAT goes over. Incognito it is!
Wednesday, December 15, 2010
Project: Organize My DIY Life!
I am so unbelievably overwhelmed right now with the amount of projects that I want to start. With Christmas coming at me like a freight train and very little presents to show for it, I'm not sure how to manage my desires and reality. Ay chi mama!
Since my parents are coming into town Christmas Eve, I need to have their presents ready and wrapped ASAP. And my sister and her family (Lou and the baby girls) should have their presents mailed before Christmas so they can have them to open. That needs to be done BEFORE my parents stuff. Ahh, I just don't know where to start!
So in true family fashion, I will just pretend like I don't have any problems and avoid thinking about Christmas presents almost entirely...until it's so dire that I have to get them all at once. It's a family thing :)
In the meantime, I'm crushing on a few DIY projects and a few things that I think I can DIY:
- Ribbon Necklace by collegefashion.net


- Carrot Cake Cupcakes by Hungry-Girl.com

- Snow Drift Candle Holders by Living with Lindsay

- Multi-Chain and Ribbon Necklace by She's Crafty

- Ribbon Bangle from American Eagle (I think a DIY would be super easy to make this guy.)
- "JOY" Bunting like this one from Joyful Joyful's Etsy shop.

- Fluffy Earmuffs by Mightymannie (I hope to make these for my mom with the leftovers from my stocking project that I STILL haven't done.)
And of course all of my holiday inspiration items. Man, what I wouldn't do to have crafting be my full-time job. Any suggestions on how to get organized during the Christmas season?
Photos courtesy of collegefashion.net, hungry-girl.com, livingwithlindsay.com, missonmimedia.com, and Joyful Joyful.
Monday, December 13, 2010
December in San Diego

Happy December!
Thursday, December 9, 2010
Project: Puff Ball Garland DIY
1. Choose your color scheme for the garland. I went with red, white, and black although I was looking for gray. Justin, it seems, would have been just as happy with the traditional red and green, but I wanted something a little different. You'll need different sized and colored puff balls, needle and thread, and scissors. That's it!
 2. While watching holiday movie (this is just a suggestion ;) ), play around with the sequence of the puff balls until you've decided on a pattern you like. I think I prefer the one on the top, but was afraid I wouldn't have enough of the red and white balls...turns out, they shorted me some black balls.
 3. Cut a piece of thread as long as you think you can handle it. I ended up cutting about four 3/4 yard-long pieces once all was said and done, although I cut each piece as need be. Tie a knot at the end of your thread. String the balls on in your pre-selected order trying to get the thread as close to the middle of the puff ball as you can. (You can feel that it's a little harder to pierce the exact center of the puff ball since it's much more dense in that area. Try to get the needle through there if you can; you don't want your balls falling off!) Don't force the balls on top of each other. They'll squish together if you push too hard, and you don't want crowded or scrunched balls.
 4. Once you've gotten to where you have about three or four inches of thread remaining, tie a knot as close to the end of your last puff ball as you can without pushing the balls back on top of each other. Cut your next piece of thread and tie it on as best as you can. I ended up sewing my new thread through the knot on the end of the first string and then tying a new knot on top of the old one to make sure they're connected.
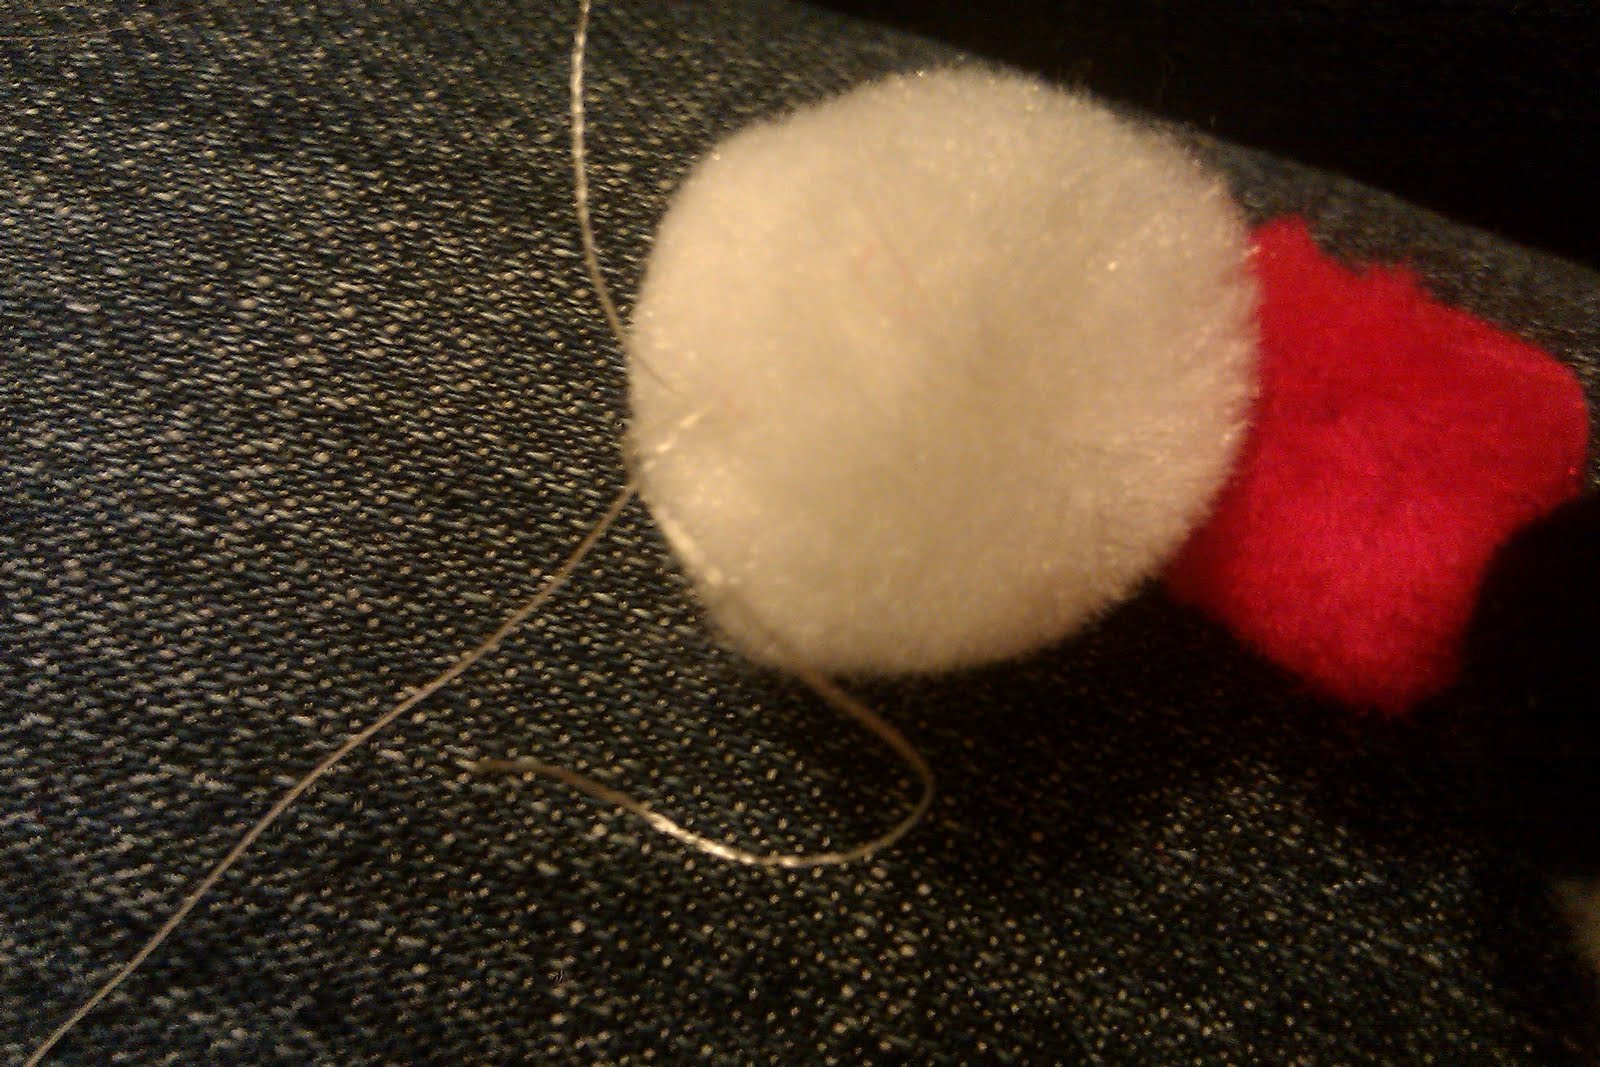 5. Continue on your merry way until all your balls have been used. Tie off the last string as in step four. Trim the loose ends and WHA-la!
 I have to say, I was really pleasantly surprised with how easy it was to make this and how nice my ball garland looks dangling on my rod. Justin said "it could even work year round," so there's always that ;)
This post inspired by AC/DC's "Big Balls."
Tuesday, December 7, 2010
Project: Christmas Door Decor, Stage 1
The outside of my front door is adorned with a borrowed faux pine wreath. I didn't show it here, but will definitely add it in my exterior shots. On the inside of the front door, I hung a faux berry and twig wreath that I picked up at Pier 1 after the holiday last year. I've been waiting all year to use this lady! Home Depot has gold and silver-finished hooks for wreaths for under $2 a piece. I snagged two for both sides of my door. Then I added little berry twigs to the top edges of my frames. The little berries are from a centerpiece I disassembled last year, but I'm sure you can cut up one twig from Michael's if you'd like. (I really think it's the small things like this that make the holiday really sparkle! And my friend Suzie already took note, so they must be working as a nice "welcome" and "see you soon" symbols for the entryway.)

 Here's my shining glory for the time being: the dining room! I used some ideas from Bower Power, but made it my own with what I already owned. The table has my black pashmina (I may switch this out for my burlap table runner for a slightly less Asian feel), red linen napkins, Christmas mugs my mom gave Justin and I last year, a plastic star bowl from Justin's grandma (also from last year) filled with even MORE ornaments (hope we have something left for the tree!), tea light holders from my friend Nissa's wedding two years ago wrapped in twine, sushi plates my friend Annie left behind in her move back East, red champagne chiller (from Justin's old house), reindeer wine stopper from Christmas last year (thanks to Uncle Lorenzo!), and the mouse and cheese salt and pepper shakers to be a little cheeky. Wow, please excuse the run-on sentence or massive cataloguing. Whatever you'd like to call it, but I thought it would be helpful to give a full run through. Besides, that has really helped me see how much I use from gifts/holiday sales/past events. I made out like a BANDIT last year, eh?!
 What do you guys think? The dining room table is really the easiest thing to change for the holidays. Start with your basics--plates, silverware, glasses--and then keep layering holiday-colored decor until you're happy with what you've got.
 Monday, December 6, 2010
Eddie Ross' Tips for Decorating Your Entryway for the Holidays
Thursday, December 2, 2010
Epic Fail
Back to life, back to reality.
Man, I hate when I miss an opportunity for a 90s throwback reference jam. Oh well, maybe next time ;)
You're welcome for getting that song stuck in your head if you're familiar with the greatness that was 90s music.
Wednesday, December 1, 2010
Christmas Inspiration
The time has finally come! It's finally socially acceptable to decorate my house inside and out with holiday decor ;) I probably would have started last week if I was feeling up to it, but the nasty East Coast weather got me (my brother-in-law, my dad, my niece, etc. etc.) sick.
I'd like to do have a gray and red theme throughout the house, but Christmas is such a traditional holiday that I've already gathered a ton of holiday decor that I would feel bad not using at least some of it (think a little country with bright greens and reds).
So, I might have to focus my gray/red efforts on the table-scape. Either way, here are a few of my favorite things that are inspiring me this season:
Scandinavian-inspired Star Garland by creaturecomfortsblog (link for DIY)

Christmas Under the Stars for Pier 1 by Bower Power

Ivory Knit Stocking With Faux Fur Trim From Pier 1 catalogue (hoping to have a DIY with my friend Michelle for these soon!)


What are you all doing for your holiday decor this year? Spicing things up with something new or keeping with tradition?
Photos courtesy of creaturecomfortsblog, Bower Power, Pier 1, Bower Power, Better Homes and Gardens.